Things you should know about Auto Layout on iOS
After spending some time with developers working with iOS, I have noticed that a lot of developers out there struggle with Auto Layout. I have found that there are a few simple rules that you need to understand to make working with auto layout a delight. Most of the following will depend on how your views are layed out, but this is usually what I do when laying out views in the storyboard.
Introduction
Auto Layout is a system that lets you lay out your app’s user interface by creating a mathematical description of the relationships between the elements. You define these relationships in terms of constraints either on individual elements, or between sets of elements. Using Auto Layout, you can create a dynamic and versatile interface that responds appropriately to changes in screen size, device orientation, and localization.
Auto Layout is on by default for new projects that you create in XCode. The typical workflow for designing with Auto Layout is to create, reposition, resize and customize your views and then set up the constraints for the views so that they maintain their position on all devices. With the introduction of
Until now, if your designs were reasonably complex, you had to write a lot of code to support such adaptive layouts. Not only does Auto Layout makes it easy to support different screen sizes in your apps, as a bonus it also makes internationalization almost trivial.
The basics
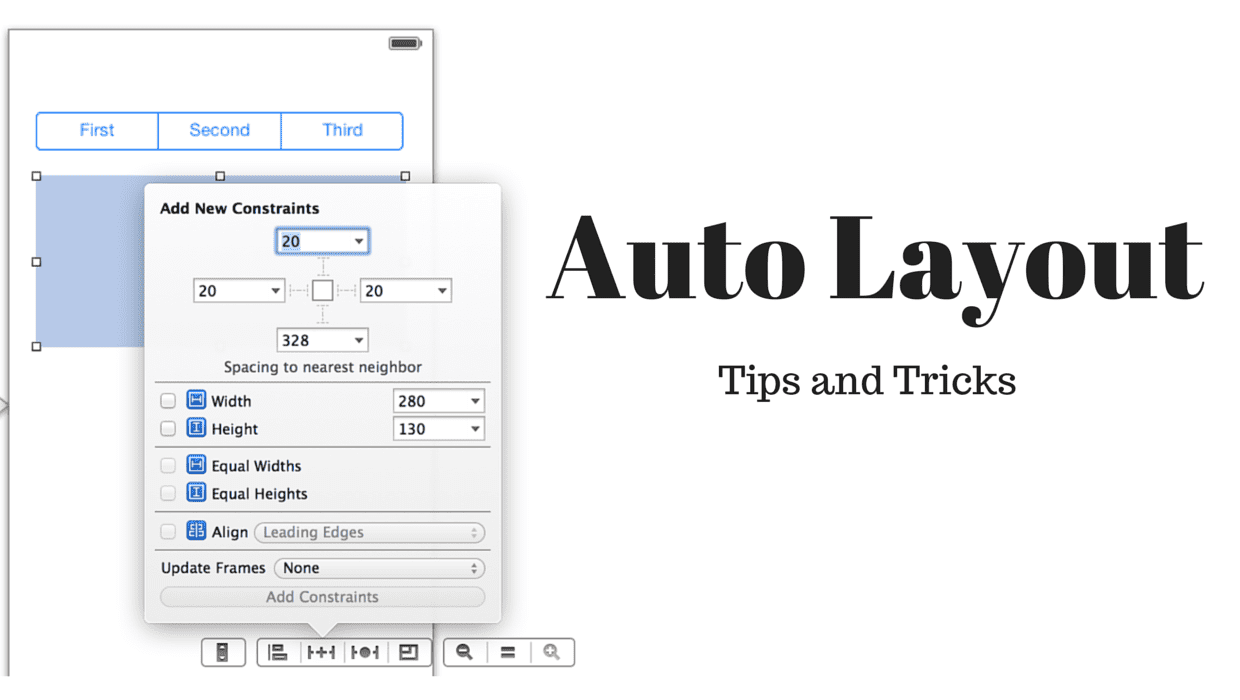
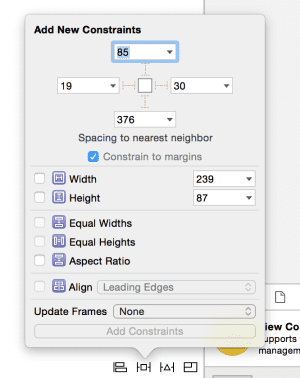
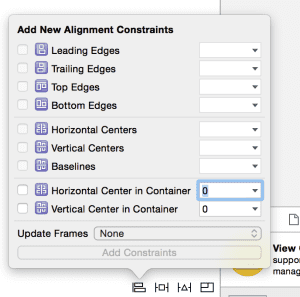
- You can specify constraints to pin the spacing between views, to pin the dimension of the views or to define the alignment of the views.
- Try to keep
Update FramestoNoneunless you are sure that your auto layout constraints are complete for the view you are positioning. When you update frames, XCode tries to position the views by satisfying the constraints and if the constraints are not complete, most of the times, it will end up resizing your view to0width/height. If you do leaveUpdate Frameson and XCode repositions view to someplace you didn’t expect it to, do aCmd+Zto bring the views back to their old position without removing the constraints you added. - When in doubt, check the color of the small arrow next to the view controller you are designing. Red means there are some errors in the auto layout constraints that you added. Yellow means that some frames are incorrectly positioned with respect to the constraints.
- Clicking on the arrow will take you to a list of errors/warnings. You can get suggestions on how to fix it by clicking on the small circle on the right.
- Deleting a constraint will not reposition your views but the layout might go into “warning” mode, indicating issues you need to resolve to make auto-layout work.
- When you move things around, your constraints don’t change; only view frame in IB changes. When frame in IB is actually different from calculated with layout constraints frame, IB will indicate the runtime frame of that element with yellow dotted line and the layout will be in “warning” mode.
- Once you have added the constraints for a view, you can update the frames of all its subviews pressing the small triangle button in the bottom after selecting the view you want to update.
- If you cannot select a constraint from the Storyboard, select the view and open the Size Inspector to select the constraint from there.
- Animations should now be dealt in terms of auto layout constraints. This means that you should not manually touch the frame when animating. Change the constraints and call
layoutIfNeededinside the animation block. To build the constraints in code, I recommend using Masonry rather than the overly verbose defaults.
Some Tips
- In each dimension (vertical and horizontal), each view’s position and size are defined by three values: leading space, size and trailing space. The leading and trailing spaces can be defined either in terms of a view’s superview or in relation to a sibling in the view hierarchy. Generally speaking, your layout constraints must fix two of these values so that the third one can be calculated. As a result, a standard view needs at least two constraints in each dimension for an unambiguous layout.
- Try to position views based on the leading and trailing spaces (or the alignment constraints) instead of pinning their heights/widths. Again, this will depend on how your views are layed out, but this is something that holds true in general for me.
- Auto Layout for scroll views works differently than normal views. There is an in depth explaination about making auto layout work with scroll view in the technical note from Apple. The gist of it is 1) you will need more constraints (usually in form of pinned width/height for vertical/horizontal scrolling respectively) than with normal views because scroll view also needs to compute its content size, and 2) there should be chain of constraints that link one edge of the scroll view to its opposite edge (e.g. in the vertical dimension, there should be a
top spacingconstraint between your topmost subview and the scroll view, abottom spacingconstraint between the botttommost subview and the scrollview, and a chain of constraints that link the bottom edge of the topmost subview to the top edge of the bottommost subview).
I know that it sounds complex, but its not. Go try it out in XCode and I am sure you will never switch back once you understand how it works.
Need some help or just want to chat? Shoot me an email at pulkit110@gmail.com.